

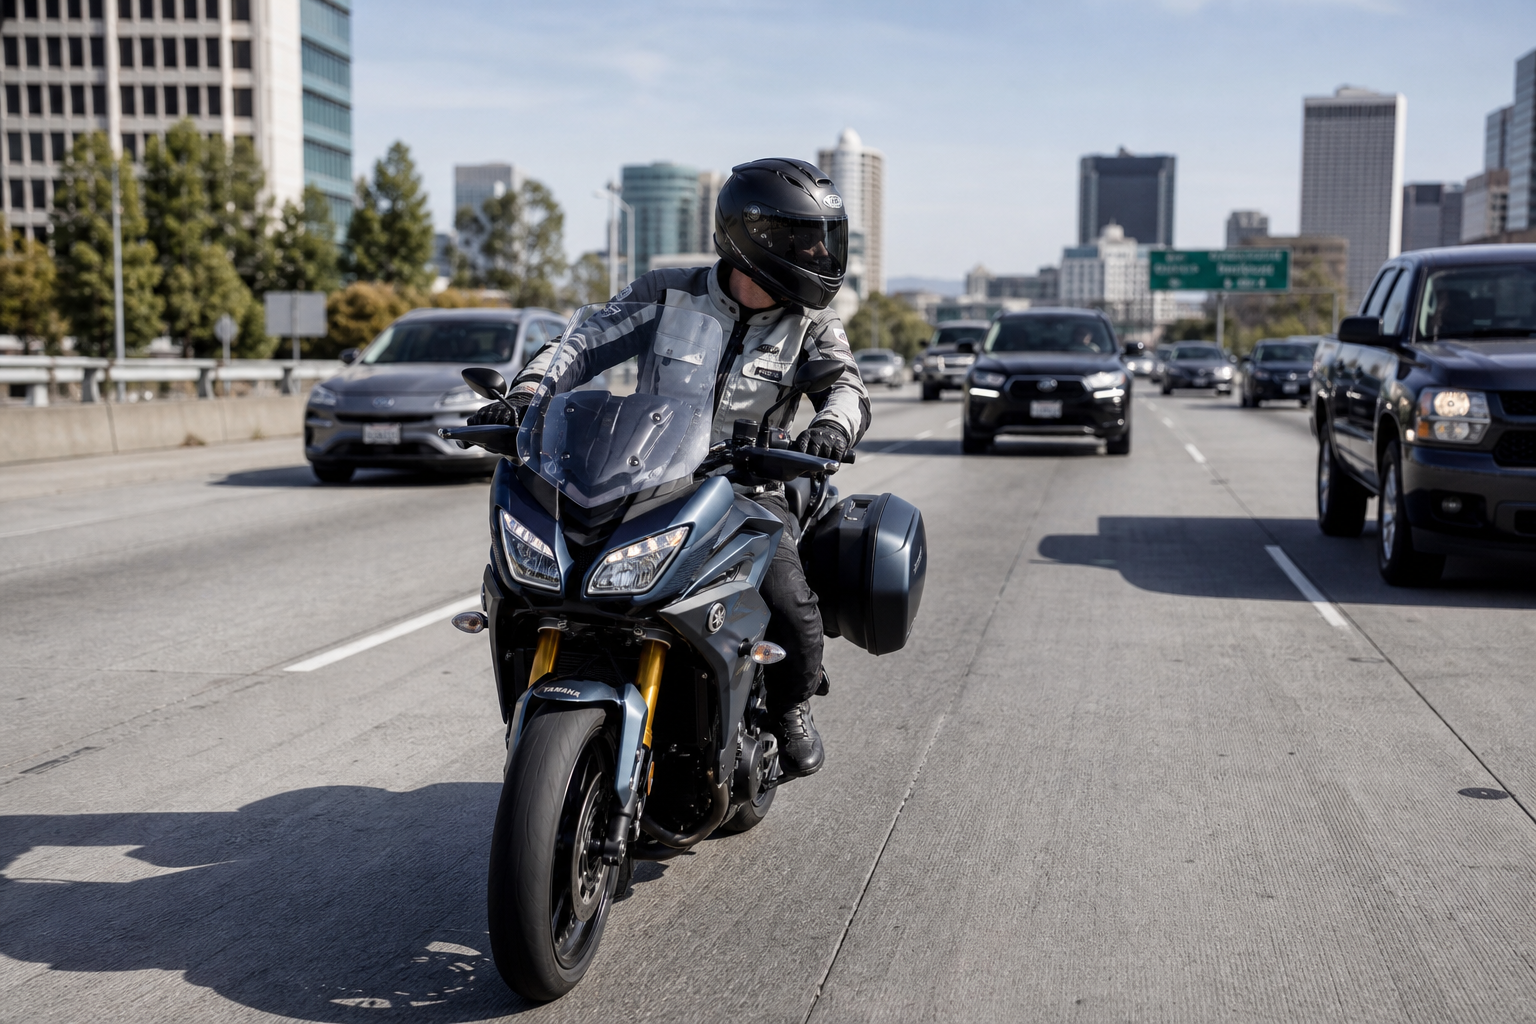
Why spatial awareness saves rides and lives
Spatial awareness is not a technique you learn once and forget. It is a continuous process of reading space, time, and motion around your motorcycle so you can predict threats and keep options. On the street, most crashes happen because someone—rider or driver—misjudged distance, angle, or timing. Many riders think braking harder is the answer; learning to read space is what stops the surprises.
Core concepts every rider must master
Perception–reaction time describes the gap between first noticing a hazard and beginning an evasive action. Published studies and riding analyses show a wide range—commonly between about 1.3 and 2.5 seconds depending on distraction, visibility, and rider readiness. That time adds dozens of feet to your stopping distance at speed, so plan for it.
Visual lead is how far ahead you should be scanning. The Motorcycle Safety Foundation teaches the rule of looking where you’ll be in the next 12 seconds. At typical urban speeds that cover several hundred feet; at highway speeds it reaches well beyond what your mirrors show. Train your eyes to pick potential trouble that far out.
Space cushion is the three-dimensional buffer around you—front, sides, and rear. Different situations demand different space cushions: a minimum two-second following gap is often taught as a practical baseline, while roadway authorities and safety groups recommend increasing that to 3–4 seconds on highways or in poor conditions.
Following distance: practical numbers and how to use them
Rules of thumb are useful but must be applied with judgment. The two-second rule is a solid minimum in calm conditions and close traffic. When speed, road surface, or visibility worsen, expand that cushion to three or four seconds. When you do the math in real time you’ll see why: those extra seconds buy reaction time and room for evasive steering.
Practice it like this: pick a stationary object ahead. When the vehicle ahead passes it, start counting “one-thousand-one…”. If you pass the same object before you finish the second count, you’re too close. Increase the count to three or four depending on conditions.
Lane position and presentation
Lane position is your single most effective tool for managing risk and being seen. Divide your lane into left, middle, and right thirds and move among them with purpose. As a default, many instructors teach the left third when moving with traffic because it often improves visibility to drivers and gives you more escape room on the right.
Pick a lane position based on three things: what’s ahead, what’s beside you, and what’s behind you. If a parked car could open a door, shift away. If a blind driveway is on the right, ride left third until you clear it. If a tailgater sits behind, drop back and use the whole lane to keep options.
Scanning, sightlines and blind-spot strategy
Good scanning is not rapid head-bobbing. It’s a disciplined pattern: immediate path (0–4 seconds), mid path (4–12 seconds), and rear/side checks every few seconds. Check mirrors, then glance over the shoulder when changing lane position or speed. Build the pattern until it’s automatic.
Remember: many drivers misjudge motorcycle speed and distance. Make your intent obvious—slight lane adjustments, check mirrors, and a clear line of sight to the driver you want to influence. Eye contact isn’t guaranteed, but clear presentation often changes behavior in your favor.
Braking, stopping distances and real-world numbers
Braking performance depends on tires, road surface, rider technique, and the motorcycle’s braking system. Published riding analyses put typical emergency braking deceleration for road riders in the range of roughly 0.45g to 0.75g, with a common average cited around 0.6g. That’s useful when you calculate how far you need to stop once you factor in perception–reaction time.
To make the concept concrete: riders and technical analyses show that combining reaction time and braking distance can produce total stopping distances measured in the hundreds of feet at highway speeds. That’s why space and early detection matter more than late, hard braking.
Steer-to-avoid and braking balance
In the split second of a hazard, you have three tools: brake, steer, and throttle. The safest choice is the one that preserves stability while creating space. That often means a controlled front-and-rear brake application while steering around the hazard—never locking up the brakes or overreacting. Practice progressive braking and feel the bike settle; that gives you better traction if you need to change direction mid-brake.
Adjustments for conditions, cargo and groups
Rain, cold, heavy winds, and cargo all change the space you need. In wet conditions double the following distance and soften inputs—tires take longer to bite. If you carry a passenger or luggage your braking distance and handling change; test those limits in a controlled environment before relying on them on public roads.
Group riding adds complexity. Maintain staggered formation spacing so every rider has an escape path. Rotate lead responsibilities only when everyone confirms understanding. A tight pack removes the space cushion that makes defensive riding work.
Practical drills to build spatial awareness
- 12-second sweep: On a moderate ride, pick a distant fixed point you’ll reach in 12 seconds. Scan that corridor for hazards and verbalize three potential threats as you approach.
- Shadow box: Practice holding an adjustable following distance with cones or parked cars; vary your distance to feel how much space is needed to react smoothly.
- Brake-and-steer combo: On a safe range, practice emergency stops while steering around an obstacle. Focus on smooth brake modulation and light steering inputs.
- Mirror-to-shoulder checks: Make mirror checks habitual every 3–5 seconds; confirm with quick shoulder checks before any lateral move.
Common mistakes that undo spatial awareness
Riders often fall for predictable traps: tunnel vision, overconfidence in braking, riding someone’s blind spot, and ignoring rear threats. The fix is simple: slow the pace of decision-making by collecting more visual data, then act with purpose.
A daily pre-ride spatial checklist
- Eyes: clear visor, scan path for 12-second lead.
- Brakes: lever free play, pads, fluid level.
- Tires: pressure and tread—your contact patch talks to you through feel.
- Position plan: where you’ll ride in the lane and why.
- Escape options: left, right, ahead—identify them before you need them.
Making spatial awareness a habit
You won’t become fluent overnight. Use short, focused practice sessions and ride deliberately. Treat every ride as a training lap: set a small goal—longer visual lead, better following distance, cleaner brake modulation—and measure progress. Small, repeatable drills add up quickly.
Final action plan
Start your next ride with three promises: keep a usable space cushion, look twelve seconds ahead regularly, and choose lane position that buys options. Those three actions alone reduce your exposure to sudden threats and give you the time to use braking or steering effectively.
Defensive riding is a craft. It rewards observation, patience, and disciplined execution. Use what you learned here on quiet roads first. Build confidence, then carry those habits into busier conditions.


0 Comments