

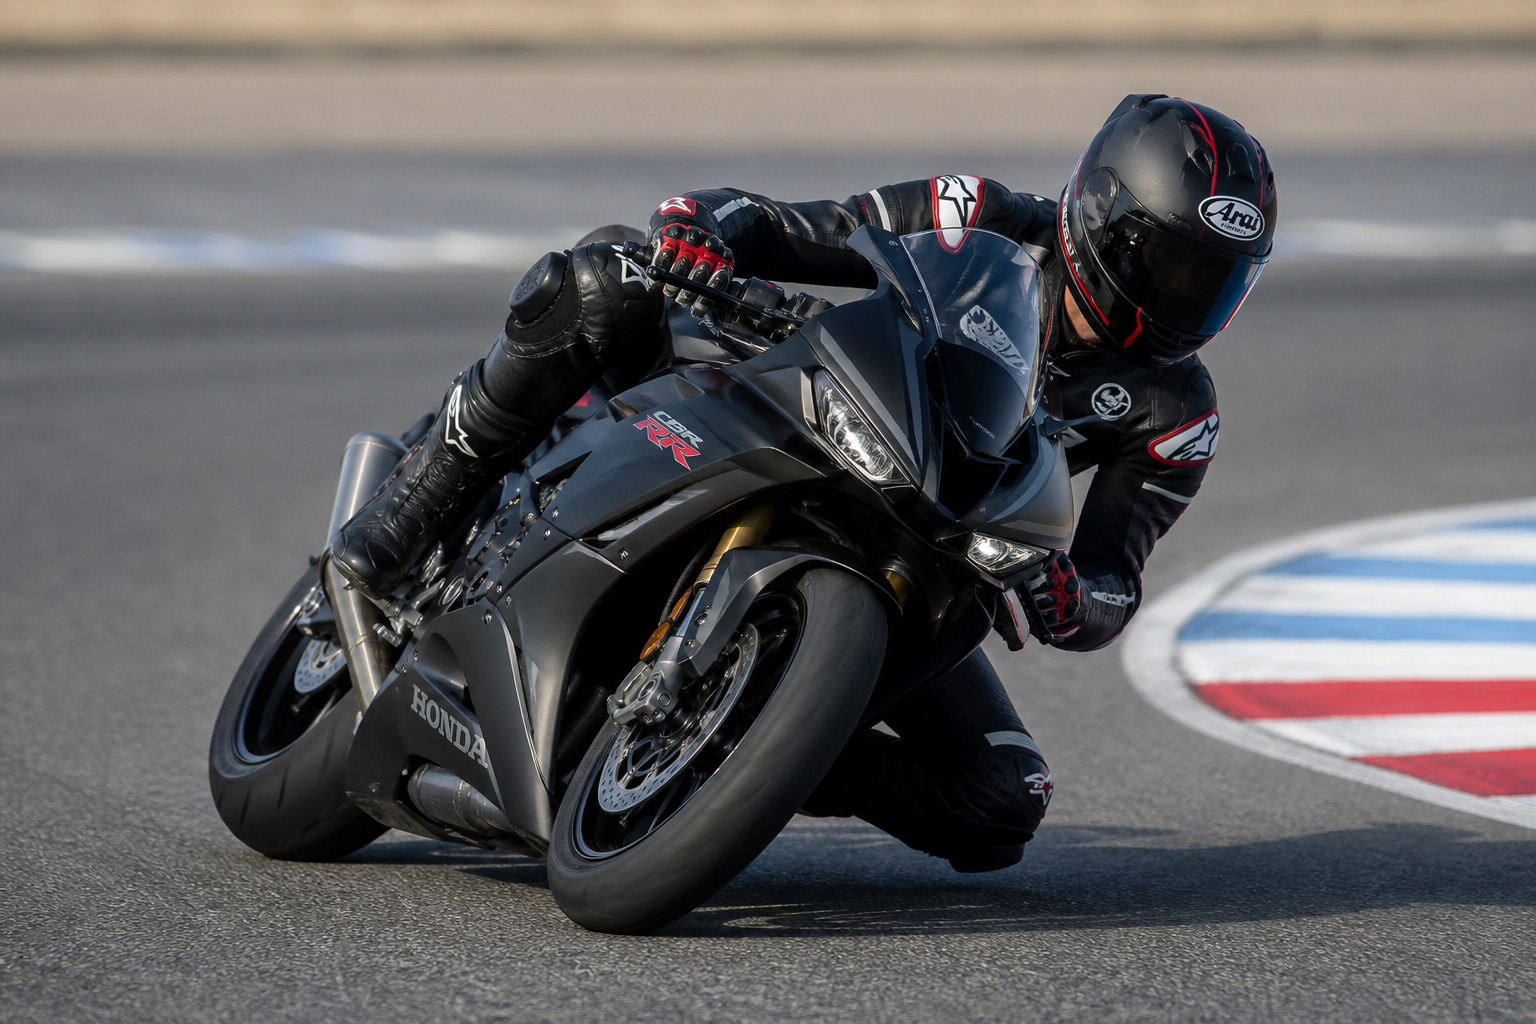
INTRO — WHY FOOT PEG CONTROL MATTERS RIGHT NOW
Foot peg control is one of those riding skills that separates confident pilots from panic-reactive riders. I ride bikes for a living and coach riders from canyon roads to racetracks. In every situation the feet are an immediate interface between rider and machine. Done badly, you hand-fight the bars and lose composure. Done well, the bike responds with precision and trust.
WHAT FOOT PEG CONTROL ACTUALLY CHANGES
People often assume steering is only about the handlebars. It’s not. The pegs work as short levers below and to the sides of the center of mass. Your feet change the bike’s balance, load distribution, and suspension inputs. That alters traction at both ends and how quickly the chassis pivots under you.
BASICS: CORRECT FOOT POSITION AND PRESSURE
The single most practical rule I drill into students: keep the ball of your foot on the peg and let your ankle act as a subtle shock absorber. Avoid hanging your toes off or planting the arch flat. The ball gives you micro-control for edge pressure, tiny push-pull adjustments, and instant repositioning during a change of direction.
Pressure matters as much as placement. Think of three states: neutral, light preload, and firm support. Neutral lets the bike breathe over bumps. Light preload stores energy for quick direction changes. Firm support is for high-speed stability or hard braking transitions. Train to shift without looking down.
HOW FOOT PEG INPUTS INTERACT WITH STEERING
Countersteering remains the definitive input to initiate a lean at speed. Foot inputs do not replace it. Instead, they augment it. Pressing down on the outside peg at corner entry helps the bike pivot more predictably and reduces upper-body tension. Conversely, an inside-peg press can lower the inside mass and offload the handlebars at lower speeds or when you need to scrub a bit of lean.
ADVANCED MOVES: WHEN AND HOW TO USE INSIDE VS OUTSIDE PEG WEIGHTING
Riding faster corners on a sportbike I prefer a measured outside-peg weight that feeds the chassis a steady pivot. On tight, low-speed turns I use a softer inside-peg weighting combined with subtle torso movement. Off-road, standing and moving weight between pegs becomes core technique—on pavement the signals are smaller but just as important.
PRACTICAL DRILLS TO BUILD FOOT PEG SKILL
Progressive drills build muscle memory without risk. Here’s a practical plan I use with experienced students.
- Static peg awareness: With engine off, sit on the bike and practice ball-of-foot placement. Shift from neutral to preload and back until your muscles remember the feel.
- Low-speed U-turns: Focus on outside-peg pressure to pivot the bike rather than yanking the bars.
- Slalom with light peg cues: Ride a slow cone slalom and use only your feet and hips to guide transitions. Keep arms relaxed.
- Corner entry sequencing: On a smooth circuit, mark two braking points and one entry apex. Work peg input timing to match throttle and bar inputs until the bike feels joined up.
SETUP & GEAR THAT BOOST FOOT PEG EFFECTIVENESS
Boots and peg design matter. Boots with a defined, slightly stiff sole and a pronounced ball area provide better tactile feedback. Aftermarket pegs that are wider and grippier help on both street and track. Folding pegs provide safety on tight lines; non-folding peg choices can give a more solid platform for advanced riders.
CHASSIS SYNC: HOW FOOT PEGS AFFECT TRACTION AND SUSPENSION
When you shift pressure through the pegs you change load on the suspension. A firm outside-peg load can compress the chassis enough to alter contact patch shape and increase front-end bite during corner entry. Conversely, collapsing onto the seat or overloading the bars reduces front-end feedback and invites understeer. Train to feel suspension feedback through your boots as much as through the bars.
COMMON MISTAKES AND HOW TO CORRECT THEM
Seen them all. Overgripping the bar because the feet are sloppy. Using toes only and slipping off the peg during a snap. Hanging the heels which kills control. Fix each with targeted reps: off-bike ankle-strength drills, on-bike slow-speed footwork, and immediate feedback from an instructor or video review.
INCORPORATING FOOT PEG WORK INTO YOUR WEEKLY PRACTICE
One focused session per week beats scattered attempts. Warm up with neutral placement, spend time on slow drills, then progress to controlled pace corners. Finish with a 10-minute cool-down ride where you deliberately relax and keep the ball of the foot anchored. Track days are best for high-speed application; closed-course practice is essential before testing these inputs on public roads.
SAFETY NOTES FROM THE COACH’S CHAIR
Never practice advanced peg techniques on public roads where surfaces and other users add risk. Use a closed circuit or an empty parking lot. Wear full protective gear. If you feel a chronic wrist or ankle strain when trying these changes, stop and reassess your setup—bike ergonomics or boot choice are often the culprit.
QUICK TROUBLESHOOTING GUIDE
- Bike feels twitchy: You may be overloading the outside peg. Relax and reduce pressure.
- Hands hurt: Feet are not supporting the chassis. Work neutral-to-preload transitions.
- Loss of front feel: You are likely collapsing through your shoulders. Re-center weight through the pegs and use ankle damping.
FINAL THOUGHTS — BUILDING A NATURAL CONNECTION
Foot peg control is a low-cost, high-return skill. Time invested in small, repeatable drills yields immediate improvements in corner entry, mid-corner balance, and exit composure. Don’t rush. Foot inputs are subtle. Train them until they feel invisible. That’s when motorcycle handling becomes a conversation instead of a fight.


0 Comments