

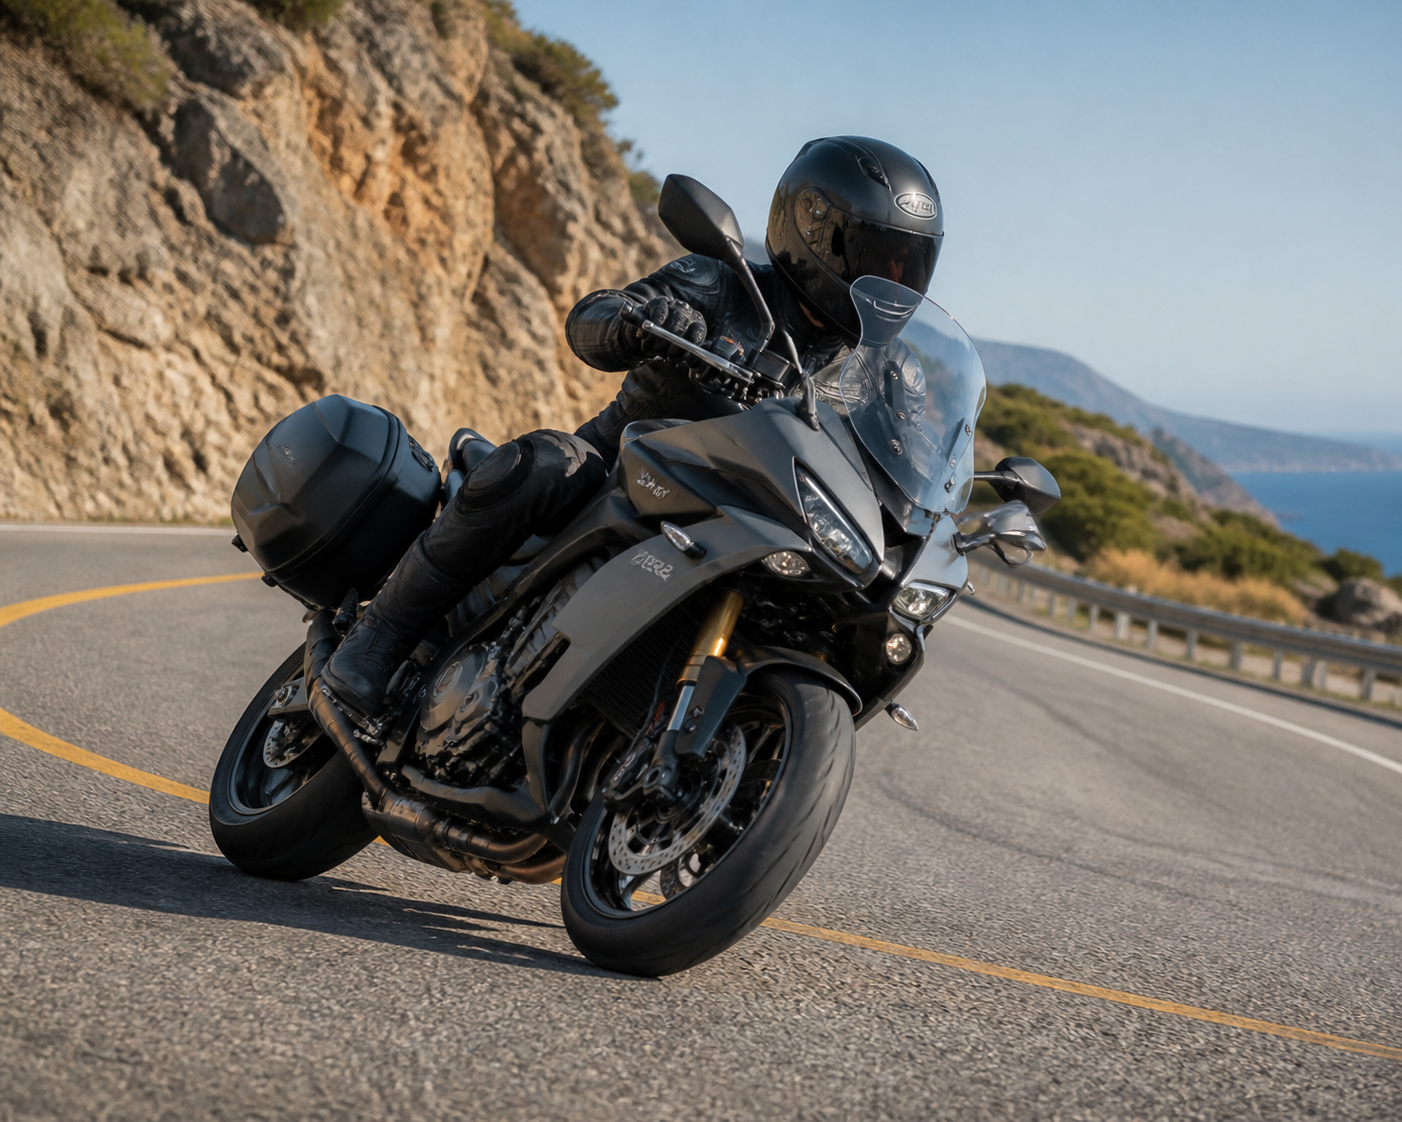
Opening: why stability matters right now
Stability is the difference between a controlled, confident ride and a frightening moment that eats kilometers off your confidence. In 2026 machines are faster and electronics smarter, but real-world stability still rests on basic physics, setup, and how you use the controls. I'll explain the mechanical roots and give techniques you can practice on road and track to make the bike feel planted.
Core mechanical factors that set the baseline
Rake and trail: the steering geometry that returns the wheel
Rake (fork angle) and trail (the ground-offset distance behind the steering axis) are the two geometry numbers that define how willingly a bike returns to center and resists quick, nervous steering. Sport machines usually run trail in the ~3.0 to 4.0 inch range, which balances high-speed stability and cornering agility. Some designs use adjustable trail—an example seen in production development forks ranges roughly between 89–101 mm (3.50–3.98 in) for certain specialized models—so small geometry changes can be felt on the first ride.
Wheelbase and mass distribution
A longer wheelbase gives a bike a calmer, straighter feel at speed; a shorter wheelbase makes it sharper but more nervous. How weight is distributed—rider fore/aft position, luggage, or passenger—shifts handling dramatically. If the front is too light you’ll feel vague steering; too much weight forward makes the front bite but the rear want to step out under acceleration.
Suspension tuning and damping
Suspension controls pitch and how the contact patches react to bumps and braking. Too-stiff compression damping can cause skipping and low-speed wobble; too-soft rebound lets the bike pitch and feel unsettled under load changes. Damping is where setup matches your style and the roads you ride.
Tires and the contact patch
The tire is where physics becomes obvious. The contact patch shape, rubber compound, and carcass construction determine lateral grip and how progressive the breakaway feels. Check carcass condition and look for cupping or flat spots; those signs show a broken-contact rhythm that kills confidence. Use the manufacturer's pressure tables as your baseline and adjust small amounts only after real test laps.
Aerodynamics and speed effects
Wind pressure, fairing design, and crosswinds change balance faster than many riders expect. High-speed stability isn't only about steering geometry; a gust or a turbulent truck slipstream will upset the bike unless you keep a steady throttle and let the chassis settle rather than fight the bars.
Gyroscopic and countersteering fundamentals
The lean that lets you corner is initiated by a tiny and fast steering input opposite the turn—countersteering. It’s brief but decisive. At speed the gyroscopic effect of spinning wheels and the trail geometry make the bike self-stable once the lean is established. Practice the move at low speed on a quiet road: push the bar slightly forward on the side you want to turn toward, and feel how the bike leans into the line.
Rider techniques that actually increase stability
Relaxed grip and correct arm position
Clenched hands transmit every bump into the bars. Keep elbows slightly bent, shoulders relaxed, and use forearms to absorb inputs. This lets the bike find its own balance instead of fighting you.
Look further than you think
Your handlebars follow your eyes. Fixate on the exit, not the apex. When your gaze is stable and far ahead, the bike assumes a smoother line and feels far more composed.
Throttle as a stabilizer
Throttle-on creates a stabilizing load through the rear tyre. When you roll on smoothly through a corner you lock the chassis into a predictable balance; sudden blips or chops unsettle that balance.
Precision in countersteering and lean control
Countersteer with clear, measured pressure. Small, decisive inputs produce stable lean angles; slow, oscillating pressure leads to nervousness. For changing lines mid-corner make smooth incremental steering inputs rather than abrupt corrections.
Trail braking: controlled entry balance
Trail braking is keeping light front braking into turn entry while you add steering. Used correctly it shifts load to the front tire and tightens turn-in. The technique demands finesse: reduce brake pressure smoothly as you increase lean and apply throttle. Practice it in three stages—heavy straight-line braking, a controlled transition while beginning to steer, and a light trailing release as lean increases.
Body position and small shifts
Your body is a trim adjustment. Move your hips slightly toward the inside of a turn, keep the head up, and let your knees grip the tank when stability is needed. Don’t over-hang—excessive movement moves the center of gravity unpredictably.
Recovering from wobble or weave
If the bike starts to oscillate relax your grip, resist the urge to jab the front brake, close the throttle slightly, and look where you want to go. Grip the tank with your knees and allow the bike to settle. If the wobble persists at speed, reduce speed gradually and find a safe place to stop and assess suspension, steering-head bearings, and tire condition.
Set-up checks you should do before every long ride
Simple checks prevent instability: steering-head bearing play, correct tire pressures to manufacturer specs, tyre wear patterns, fork and shock oil condition, and secure loads. Tighten pinch bolts to spec and re-torque after initial rides on freshly serviced hardware.
Practice drills that build feeling and confidence
Set aside time on a quiet road or closed area to practice: low-speed countersteer cones, progressive trail braking into a marked turn, and high-speed straight-line stability runs where you practice relaxed bar hold while keeping a steady throttle. Repetition teaches the nervous system to trust small inputs.
When electronics help — and when they don’t
Modern traction control, steering dampers, and selectable chassis modes can mask setup issues but never replace core mechanical condition and rider technique. Use electronics as a supplement while you hone the basic skills that remain essential for control in an emergency.
Final practical checklist you can run through in under two minutes
- Visual: eyes up, scan exit points.
- Grip: relaxed hands, elbows soft.
- Body: neutral hips, knees on tank when needed.
- Controls: smooth throttle and progressive brake release.
- Setup: tires, suspension, bearings checked against manufacturer guidance.
Mastering stability is incremental. Make one change at a time, feel it, and then repeat until it becomes second nature. I’ve taught these steps on racetracks and used them on twisty mountain roads—when you apply them deliberately the bike rewards you with confidence and speed that arrive without drama.


0 Comments