

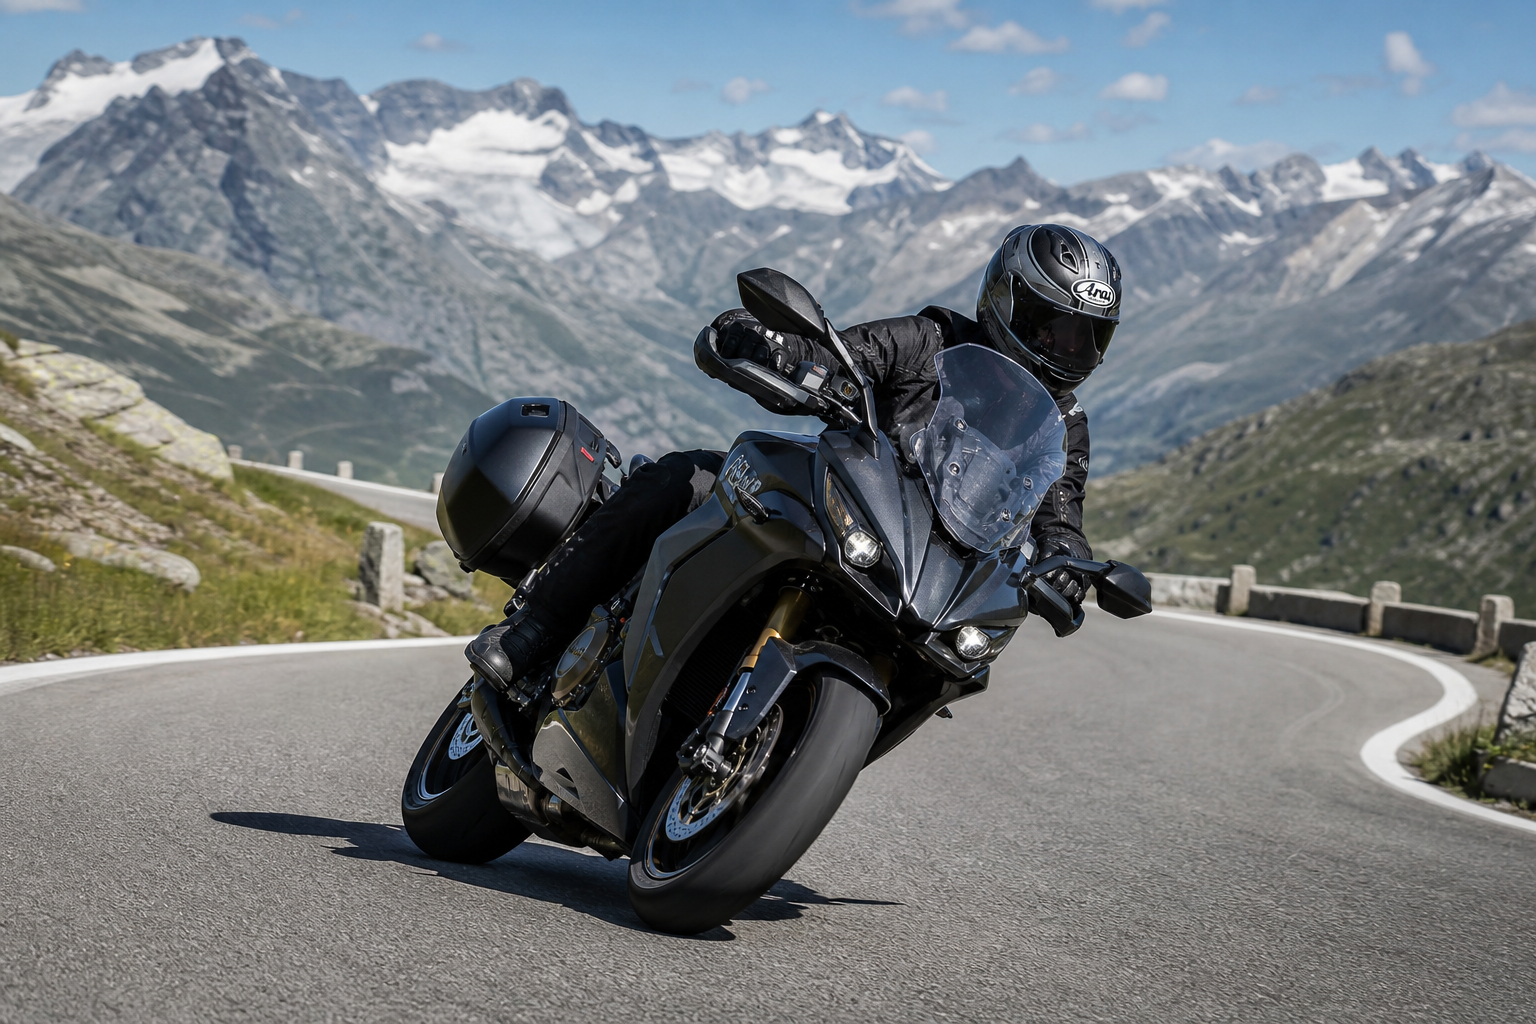
Riding better is not about tricks. It's about layering reliable skills until you can ride fast, safe, and confidently in everyday traffic or on the track. These are tested, practical techniques you can practice in short sessions and apply immediately.
WHAT THIS GUIDE COVERS
This article moves from essentials—gear, posture, basic control—to higher-level skills like countersteering, trail braking, and advanced sighting. Each section includes drills you can repeat until the inputs become second nature.
GEAR AND RIDE-READY CHECKS
Good riding starts before you twist the throttle. A single, small failure compounds quickly at speed.
- Helmet: Full-face, certified, proper fit.
- Armor: CE-rated jacket, pants, gloves, boots—fit for the type of riding you do.
- Bike walk-around: Tires, pressures, chain/drive tension, fluid levels, lights, brake lever feel.
Do a quick lever-squeeze every time you mount. The bike should feel familiar every ride.
FOUNDATIONAL CONTROL: THROTTLE, CLUTCH, BRAKE
Precision with small inputs beats aggression. Smoothness reduces surprises.
- Throttle rolling: Small, predictable inputs keep the chassis stable under load changes.
- Clutch modulation: Use the clutch to fine-tune traction at very low speeds and when restarting mid-corner.
- Front vs rear brake: Most effective stopping power is at the front; combine both halves but learn progressive front lever modulation for maximum control.
COUNTERSTEERING: THE CORE TURNING TOOL
To initiate a lean, you briefly press forward on the bar in the turn direction—this is countersteering. Right input to go right; left input to go left. At speed it’s immediate. At walking pace the bike still steers, but by different dynamics.
Practice drill: on a quiet straight, pick a cone ~30 m away, accelerate to 30–40 km/h, press gently on the bar to initiate a lean, hold line, and roll back to center. Repeat both sides until the input is reflexive.
BRAKING: THRESHOLD, TRAIL, AND EMERGENCY STOPS
Braking is where the majority of collapses happen. Learn the difference between slowing and shaping a corner.
- Threshold braking: Squeeze to just before lock-up at maximum decel; maintain that pressure until you need to release.
- Trail braking: Reduce brake pressure gradually as you enter the corner, allowing the front end to keep some load and steer. This lets you tighten the line and adjust entry speed later if needed.
- Emergency stop: Eyes up, compress the body into the tank, strong consistent front brake, add rear as needed, covering the clutch to prevent engine stall.
Reported stopping distances from 60 mph vary with surface and whether reaction time is included. Typical figures range roughly from 120–180 feet; braking distance alone is often around 120–140 feet under good traction. That variability is why progressive practice is critical.
READING THE ROAD: VISION AND LINE CHOICE
Where you look defines what you do. Your hands follow the eyes. Pick a smooth entry point, an apex, and a wide exit. On unfamiliar roads, look for hazards early—sand, oil, tar seams, or gravel change the plan immediately.
Drill: pick a two-turn section and ride it repeatedly at the same speed, only changing your line. Note how exit speed, apex position, and throttle roll affect stability.
BODY POSITION & WEIGHT TRANSFER
Your body is a tool for balance and steering. Use it, but don’t fight the bike.
- Neutral position: Grip the tank with knees, elbows slightly bent, head upright and over the front third of the visor.
- Sport cornering: Move your chest toward the inside of the turn, keep the outside knee firmly on the tank, and let the bike lean beneath you.
- Weight transfer: Compress the forks under braking to increase front grip. As you accelerate, transfer weight rearward for traction.
SUSPENSION, TIRES, AND SETUP BASICS
Even the best inputs fail on tired rubber or wildly incorrect sag. Basic setup will keep the bike predictable.
- Tire pressures: Follow manufacturer recommended cold pressures as a starting point, then adjust for load and riding style.
- Sag: Set static and rider sag to factory specs or to values provided by your track or suspension coach.
- Brake lever reach and tires: Small adjustments to lever position and proper tire condition improve confidence more than horsepower gains.
ADVANCED SKILLS: WHERE SPEED MEETS CONTROL
These are skills used on track and by advanced street riders. They require calm practice in a controlled environment.
- Advanced trail braking: Use a slightly firmer initial brake, then soften as you begin the lean. The aim is to manage the front load without upsetting the rear.
- Countersteer suspension timing: Apply a crisp countersteer input immediately after brake release to settle the chassis into turn-in.
- Throttle-blip downshifts: Smooth rev-matching reduces rear-wheel hop and maintains chassis balance entering fast corners.
PRACTICE SESSIONS: BUILDING SKILLS FAST
Short, focused practice wins. Work one skill per session and stop when concentration fades.
- Session 1 — Braking control: Warm up, then perform 10 controlled emergency stops from a moderate speed to hone lever feel and body position.
- Session 2 — Countersteer and line: Single-lap repeats on a low-traffic backroad or closed area practicing initiated turns at increasing speeds.
- Session 3 — Trail braking: Use cones to create a slow-to-medium speed corner sequence; practice softening brake pressure through turn-in.
COMMON MISTAKES AND HOW TO FIX THEM
Most errors are simple to detect and fix with a coach or video review.
- Overbraking late: If the bike stands up while braking, reduce pressure and practice progressive application earlier.
- Looking at the hazard: If you fixate on a danger, you'll ride to it. Train your eyes to pick an escape line and look there.
- Wrong weight balance: If the rear steps out under power, your weight or throttle is incorrect—shorten the throttle roll and check body position.
IMPLEMENTATION PLAN FOR THE NEXT 90 DAYS
Four weekly blocks. Start conservatively and increase complexity only when you feel clean and repeatable inputs.
- Weeks 1–2: Gear checks, brake lever feel, low-speed countersteer drills.
- Weeks 3–6: Add threshold braking and straight-line emergency stops. Introduce simple cornering lines.
- Weeks 7–12: Trail braking, body position shifts, and controlled higher-speed riding with feedback (coach or video).
SAFETY REMINDERS FROM REAL-WORLD RIDING
Riding faster skillfully is not the same as taking risks. The margin for error shrinks with speed. Use protective gear, choose proper practice locations, and if possible, ride with a coach or experienced partner.
FINAL ACTIONS BEFORE YOUR NEXT RIDE
Run through a quick checklist: tires, pressures, brakes, oil, chain, and your protective kit. Then pick one skill from this guide and focus on it for a single ride. Repeat until it becomes automatic.
Want one more tip? Video your sessions. Seeing your inputs and line choices accelerates progress more than any single article can.


0 Comments