

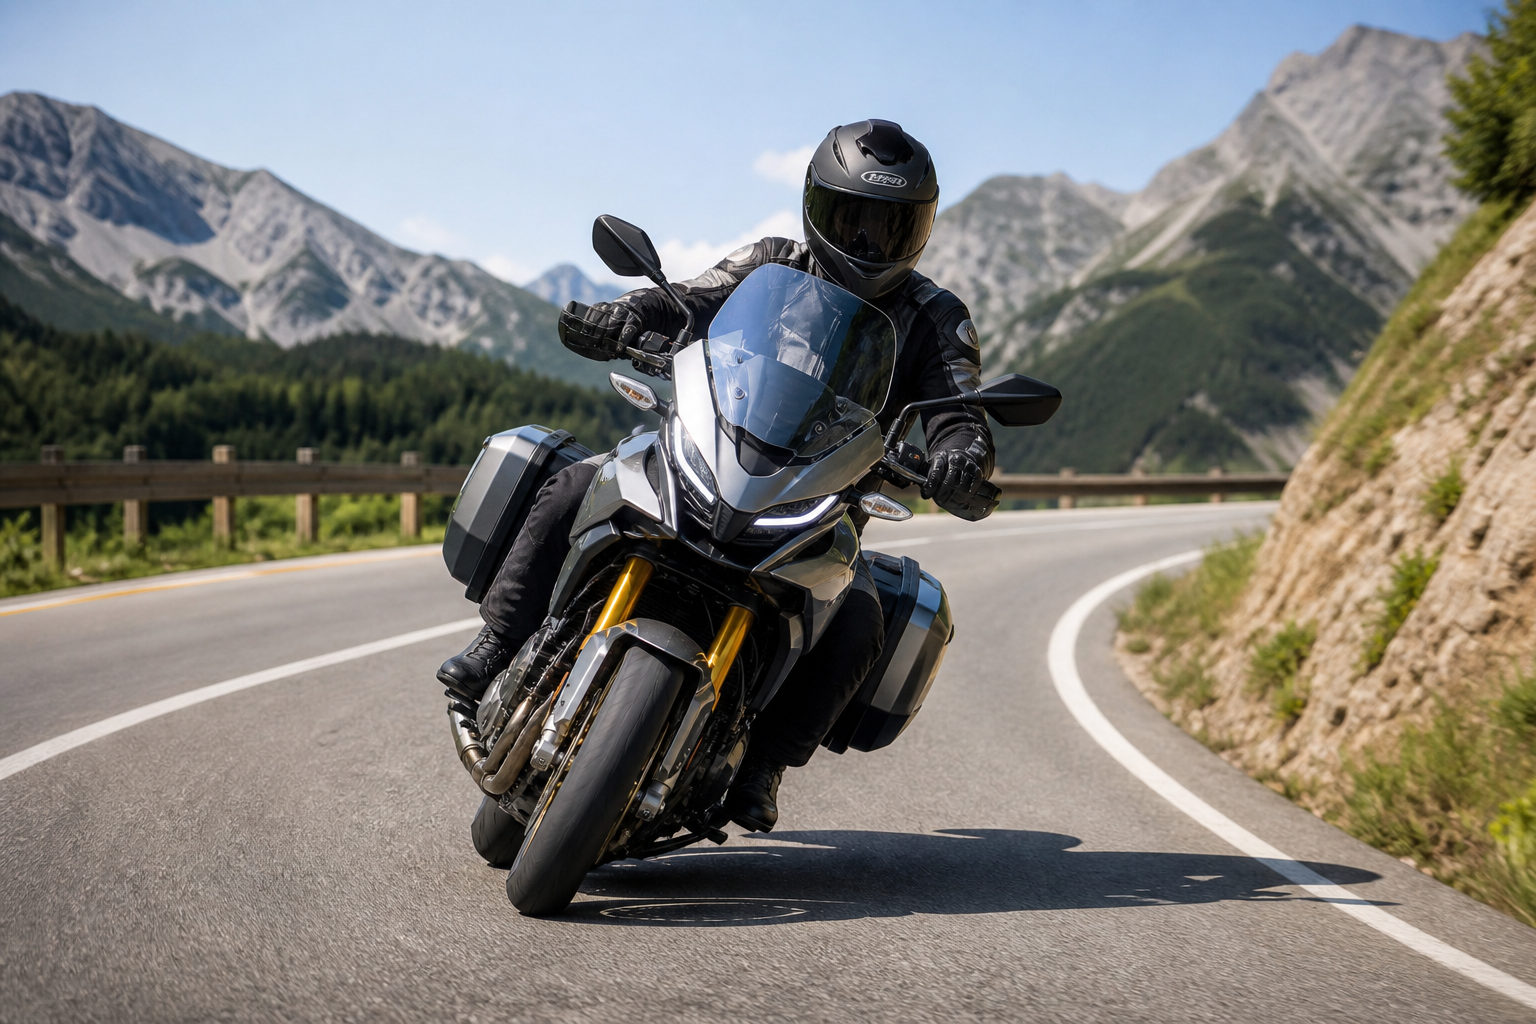
Riding in 2026 means more electronic aids, higher cornering limits and crowded roads. Technique still decides whether you get home. This is a practical guide for experienced beginners and seasoned riders who want to sharpen the basics that actually save lives and improve confidence.
WHO THIS GUIDE IS FOR
If you want predictable braking, cleaner corner entries, and the confidence to use modern safety systems properly, read on. These are not theory-only drills — they come from years of instruction at the track and commuting through real traffic.
ESSENTIAL PRE-RIDE CHECKS
Make pre-ride checks a ritual. The T-CLOCS mnemonic works well: Tires, Controls, Lights, Oil, Chassis, Stands. It takes two minutes and prevents the common mechanical failures that cause crashes.
Tire pressure matters. Always follow the motorcycle’s placard or owner’s manual first. As a practical reference, many street sportbikes run in the low-30s PSI range front and rear when cold; cruisers and heavy tourers often run higher. On the track you’ll tune pressures for temperature and load. Check pressures cold and correct them before you ride.
Quick checklist before every departure: look for cuts and bulges, confirm chain tension and lubrication, test brakes and clutch for even feel, confirm lights, mirrors and horn work, and visually inspect suspension for leaks.
THROTTLE, CLUTCH AND GEARWORK: SMOOTHNESS WINS
Control starts with the right inputs, not brute force. The throttle is not an on/off switch; treat it as the primary tool for balancing the motorcycle’s attitude. Small, deliberate openings control weight transfer and steering response.
Learn the friction zone for your bike — the range of clutch engagement where the engine begins to pull. Practice smooth releases at low speed so the bike does not surge or stall. On the move, use clutch slips only when necessary: slow-speed maneuvers and very tight turns.
Shift cleanly. Blip the throttle on downshifts if you’re not using a slipper clutch. Up-shift with steady pressure and allow the gearbox to settle — forcing gears often leads to a missed shift and instability.
BRAKING: SEQUENCE, PRESSURE, AND ELECTRONICS
Good braking is about sequence and modulation. Always use both brakes together: the front brake provides most stopping power, the rear stabilizes the chassis and shortens stopping distance when used correctly.
Technique: apply the front brake progressively with steady lever pressure; add rear brake as you compress the forks to keep the bike balanced. Release the front gently as you come to a stop to avoid nose-diving. For emergency stops, a firm, progressive squeeze on the front lever combined with steady rear pressure produces the shortest, most stable stop.
On modern bikes you will encounter IMU-based cornering ABS. These systems use lean-angle sensors to allow meaningful front braking while leaned over. Treat cornering ABS as an extra margin — it helps but does not make risky inputs safe. You still need progressive pressure and good body position.
If your bike has multiple ABS modes, learn them. Street mode is the default; sport modes may allow more wheel slip for experienced riders. Practice emergency stops in a safe area so you understand how your bike and its ABS respond.
COUNTERSTEERING: PUSH LEFT TO GO LEFT
This is non-negotiable. At anything above a walking pace you steer by momentarily pushing the bar in the opposite direction of the turn (a light push on the right bar makes the bike lean right). The effect is immediate. Learn it in a large empty lot with progressive inputs until it becomes instinct.
Short drill: accelerate to 20–25 km/h, give a slight push on one bar and feel the bike lean. Practice left and right until the motion is reflexive. Once you accept countersteering, cornering becomes calmer and more precise.
TRAIL BRAKING: WHEN AND HOW
Trail braking is a powerful skill once you understand the friction budget of a tire. The core idea is to enter a corner with controlled front braking and then slowly release as you increase lean and steering input — keeping the total grip close to the limit without exceeding it.
Practical guidelines:
- Start conservatively: practice trail braking at moderate speeds on gradual corners before attempting tighter or blind turns.
- Progressive release: never snap off the brake — a smooth taper maintains stability.
- Watch load transfer: braking shifts weight forward, increasing front grip but reducing rear grip. If you overdo it you risk a slide.
Trail braking is not mandatory for safe riding on the street. Use it where it buys you a clearer sightline, a later apex, or better exit speed — and only after you’ve practiced in a controlled environment.
BODY POSITION & VISUAL TECHNIQUES
What you do with your head and eyes organizes the rest of the bike. Look where you want to go. Your shoulders and hips will follow the eyes. For sporty cornering, move your upper body slightly inside the turn and keep the outside elbow relaxed. On public roads, avoid extreme hanging-off; prioritize balance and visibility.
Two quick rules: keep your chin up and your eyes scanning. If you look at a hazard you’ll steer toward it. Look for escape routes — patches of clean pavement and smooth lines through the corner.
LOW-SPEED SKILLS: CLUTCH CONTROL, REVERSE GEAR? NO, BALANCE
Low-speed competence prevents many urban crashes. Practice figure-eights and tight U-turns in an empty area. Use the friction zone and the rear brake for fine speed control. Keep your torso light on the bars and your feet ready to dab when necessary.
For very slow maneuvers, stand on the footpegs slightly if your bike and situation allow — it lowers the center of gravity and gives better leverage. Always wear protective gloves and boots when practicing slow-speed falls.
EMERGENCY MANEUVERS: SWERVE, BRAKE, AVOID
Two primary responses to a sudden obstacle: strong braking (if a straight-line stop will avoid collision) or an evasive swerve. You must be able to do both smoothly and rapidly.
Practice emergency braking from safe speeds until the muscle memory to squeeze and hold the front lever is engrained. Practice an emergency swerve drill at moderate speed — roll off the throttle, shift weight slightly rearward, and make a deliberate steering input while keeping the bike stable. Never combine a full hard swerve with maximal front brake; that causes instability.
TIRE CARE, WHEEL ALIGNMENT AND SUSPENSION BASICS
Tire condition and suspension setup change how the bike behaves. Replace tires that show uneven wear, cupping or cords. Check wheel alignment if the bike pulls to one side under braking. Simple suspension checks — sag, fork seals and damping feel — will keep handling predictable.
When you change tire pressures to match riding conditions, recheck geometry and handling in a safe area. If you carry a passenger or luggage, increase rear pressure and re-evaluate seat-of-the-pants handling.
PRACTICE PLAN: 8 WEEKS TO NOTICEABLE GAINS
Spend one focused session per week on the drills below. Progress slowly and record what changes.
- Week 1: Pre-ride checks, cold tire pressure routine, and low-speed figure-eights.
- Week 2: Countersteer drills at 20–30 km/h, controlled braking practice.
- Week 3: Progressive braking and emergency stops at increasing speed.
- Week 4: Smooth clutch work and slow tight turns; practice dabbing safely.
- Week 5: Controlled trail braking on gradual corners; focus on release timing.
- Week 6: Body position work and eye-line practice at coasting speeds.
- Week 7: Combined drills — enter a corner using trail brake, throttle roll and exit with a stable line.
- Week 8: Mock commuter ride with scenario management: sudden slow traffic, obstacle avoidance and lane positioning.
PRE-RIDE CHECKLIST YOU CAN PRINT
- Tires: Pressure, tread depth, cuts, bulges.
- Controls: Throttle free play, clutch lever, brake lever.
- Lights & signals: Headlight, taillight, indicators, horn.
- Fluids: Oil level, coolant, brake fluid condition.
- Chain/Drive: Tension, lubrication, sprocket wear.
- Suspension: Fork seals, damping feel, sag if you adjust it.
FINAL REMINDERS
Technology gives you more margin, but it does not replace skill. Build habits: check the bike, ride deliberately, and practice the core inputs until they feel natural. The most dangerous hours on a motorcycle are when routine replaces attention. Stay curious, keep practicing, and respect the limits of your equipment and the road.


0 Comments